
In video editing, transitions provide a seamless connection between clips, giving your film a smooth flow without abrupt scene changes. Proficient use of transitions can improve the visual quality of your videos, making the narrative much easier to follow.
In this article, we’ll provide a comprehensive guide on how to add transitions in Premiere Pro. You’ll also learn how to customize transitions and choose the perfect ones for your projects.
How to add video transitions in Premiere Pro
Adding transitions in Premiere Pro is as simple as finding the effect you like and dragging it onto the cut line between two clips. Here’s how to do transitions in Premiere Pro:
1. Import and cut your footage
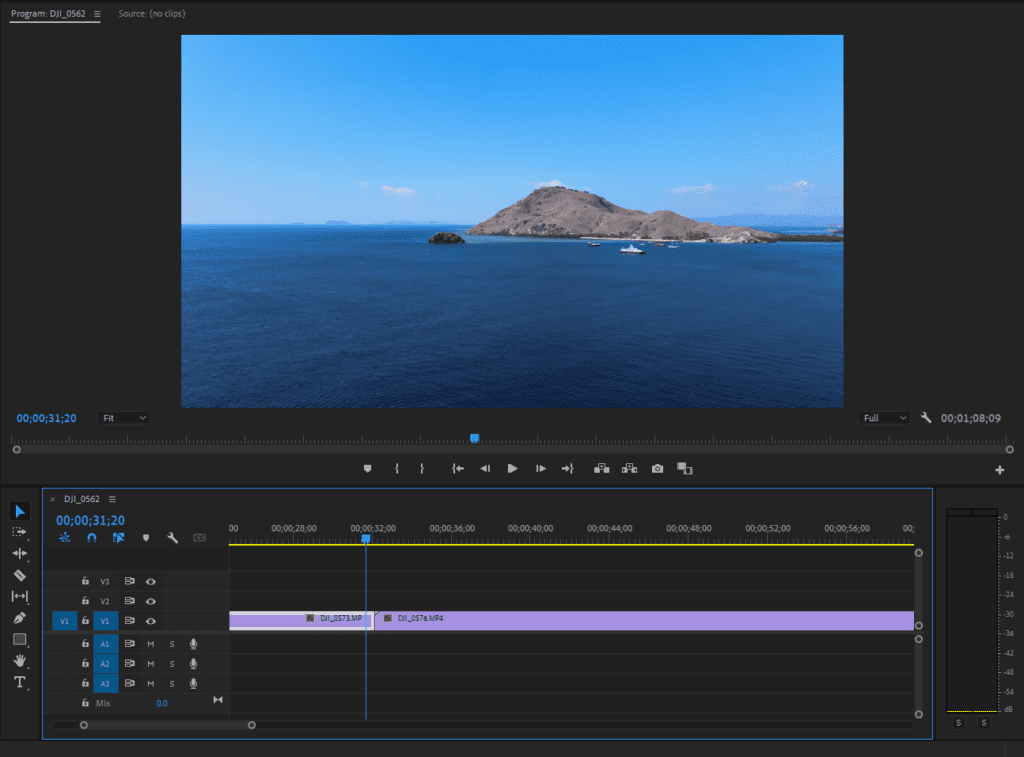
It’s best to add Premiere Pro transitions when you’ve finalized your sequence. First, launch Premiere Pro, start a new project file, and import your clips. Next, drag the clips into your timeline and arrange your footage until you’re happy with the sequence.
2. Locate the Video Transitions folder
With your clips arranged, it’s time to add your transitions. Open the Effects panel and double-click Video Transitions to see all of the available options. If you can’t find the Effects panel, select Window > Effects from the menu at the top of Premiere Pro’s interface.

Here, you’ll find a list of transition types, including:
- 3D Motion: Adds a three-dimensional effect, creating the illusion that your clips are moving in space.
- Dissolve: Fades one clip into another in a variety of ways. This is one of the top transition types that editors frequently use.
- Immersive Video: Transitions for 360-degree videos and other forms of immersive content.
- Iris: Creates a circular opening or closing effect, inspired by the aperture on camera lenses.
- Page Peel: Mimics the turning of a page, adding a playful yet effective way to shift from one scene to another.
- Slide: Moves or “slides” one clip over another, typically from side to side or top to bottom.
- Wipe: Moves a line or shape across the frame, revealing the next clip as it progresses.
- Zoom: Simulates the effect of zooming in or out between clips, creating a dynamic shift in perspective.
Tip: You’ll also see an Audio Transitions folder. This includes a range of effects that help you blend audio between clips, creating even more seamless transitions. You can use these in the same way as you use video transitions—like fading out audio before transitioning to a new scene.
3. Test and add transitions to your timeline
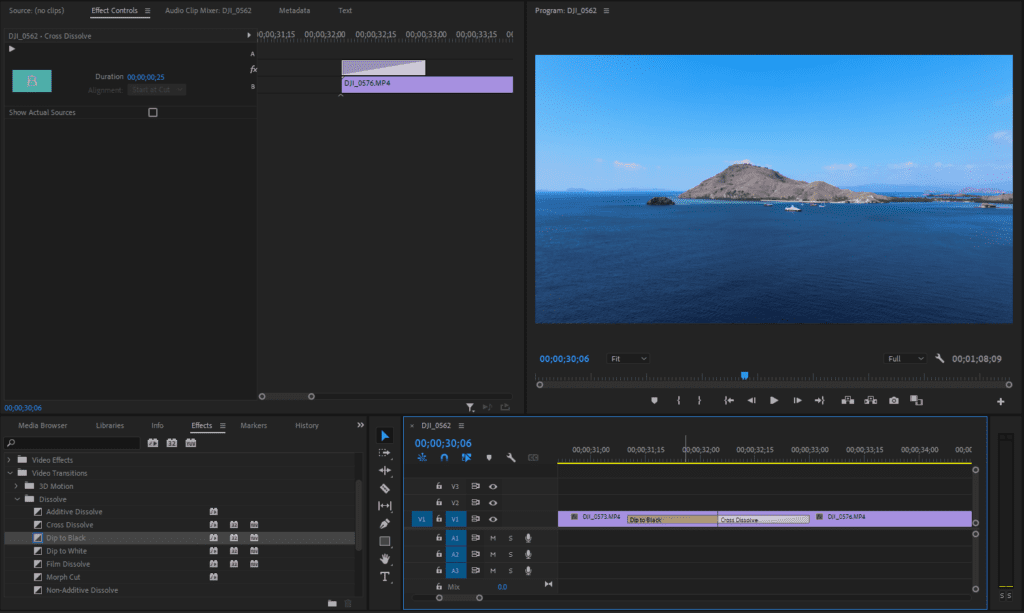
When you’ve found the perfect transition, simply drag and drop it onto one of the cut lines in your timeline. This will create a tan Transition box between the two clips.
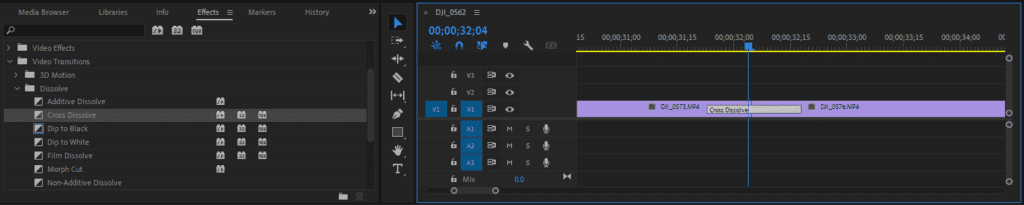
You can test each transition by dragging and dropping them into your timeline. Dragging a new transition over an existing one will replace it. If you want to delete a transition, select the Transition box and press Delete.
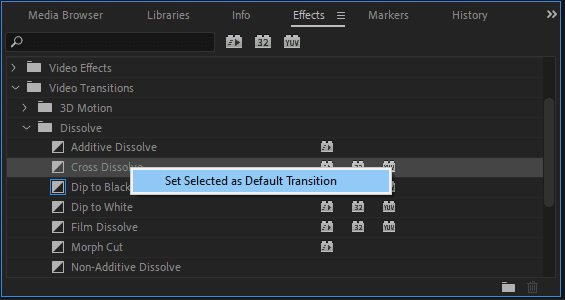
To apply the same transition to multiple clips, right-click your chosen transition and select Set Selected as Default Transition. Then, select your clips and press Ctrl + D to apply the default transition to your entire sequence.
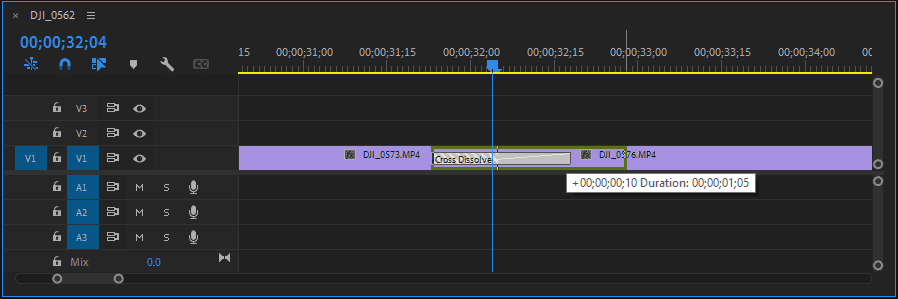
4. Adjust the transition duration (optional)
If you want to increase or decrease how long the transition takes, select it and drag the edges toward or away from the cut line. Dragging away from the cut line will extend the transition length and vice versa.
How to customize transitions
Aside from duration, you can also adjust the style and other properties of your transitions to make them perfect for the flow and feel of your video. Here are some powerful ways to customize your Premiere Pro transitions:
Use keyframes to fine-tune transitions
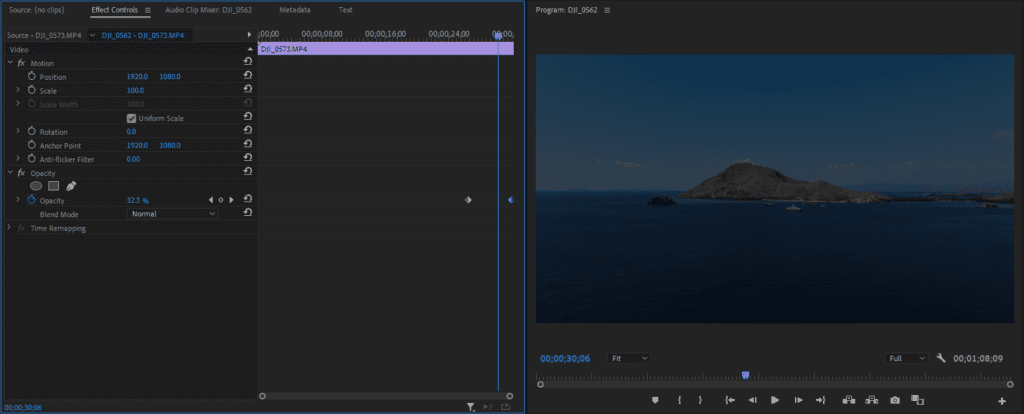
While it’s generally easier to use Premiere’s pre-made transitions, you can create your own using keyframes. For example, if you want to fade a clip into another, you would alter the Opacity property.To do so, select the clip you want to fade and open the Effect Controls panel. Then, create keyframes where you want the fade to start and end. Finally, adjust the Opacity value to 100% at the keyframe where you want it to begin fading out (or 0% if it’s fading in) and 0% where it should be fully faded out.
Create single-sided transitions
You can fine-tune transition positioning to create single-sided transitions. This is a video editing term referring to transitions that you apply to just one side of a clip—the beginning or the end. For instance, one clip might slide off the screen as it ends, while the next clip fades in from black.
To create a single-sided transition, double-click the Transition box to open the Effect Controls panel. Click the drop-down menu beside Alignment and choose either:
- End at Cut: The transition ends when the clip itself ends.
- Start at Cut: A new transition will start in the next clip.
Tips for using transitions effectively
Transitions can be more than just connectors between clips—they’re powerful tools that can create stunning visual effects and elevate your storytelling. Here are 5 ways to use transitions more effectively:
1. Time transitions carefully
Timing your transitions properly ensures that your video makes sense. Poorly timed transitions might cut off important dialogue, disrupt key visuals, or clash with the rhythm of your audio. To avoid these pitfalls, preview your edit and adjust the timing of your transitions carefully to fit within the context of each scene.
2. Be consistent with which transitions you use
Consistency helps make your videos more cohesive. Using a ton of different transitions creates a visual overload that distracts your audience and takes them out of the experience. Instead, limiting your selection to two or three types will support the tone of your video, helping viewers focus on the content.
3. Avoid outdated or cliché transitions
While transitions like star wipes and checkerboard patterns are nostalgic, they can often detract from modern videos. Unless you’re aiming for a tongue-in-cheek or retro look, it’s better to use more contemporary transitions with modern aesthetics. It’ll keep your projects fresh and relevant, avoiding jarring elements that pull viewers out of the video’s flow.
4. Blend transitions with color grading
Including consistent color grading with your transitions helps smooth out the visual shift between scenes. Consider a scene where a story moves from a cold indoor environment to a warm outdoor space. If you apply a cool blue tint to the indoor scene and gradually transition to a warm golden hue as the scene shifts outdoors, you’ll underscore the change in mood and atmosphere.
5. Match transitions to the mood
A final video editing tip is to choose transitions that align with the mood and energy of your scenes. For instance, sticking with cuts without transitions might be the best choice for an energetic action scene. Meanwhile, a slow crossfade could be the perfect choice if you want to highlight the connection between two scenes. Matching the transition style to the scene’s emotional tone will enhance your storytelling and ensure viewer engagement.
Final thoughts
Knowing how to add transitions in Premiere Pro can transform your video projects, adding polish to your narrative flow. By carefully timing transitions, being consistent, avoiding clichés, and using creative elements thoughtfully, you’ll master transitions in no time.
As you experiment with these techniques you’ll find the perfect balance. But to get a headstart, check out Storyblocks’ extensive library of Premiere Pro transition templates. With a Storyblocks subscription, you can download unlimited, royalty-free stock music, footage, sound effects, and more. Sign up today to elevate your creative workflow!

